
Learn - Recipes
See what a meal costs to make at your prices.
Recipes
A recipe is a meal you save: a title, a list of ingredients, optional servings and prep and cook times, and the steps. Once your receipts cover its ingredients, each recipe shows what it costs to make at your own prices, and per serving. Any recipe can be dropped onto a shopping list in one tap.
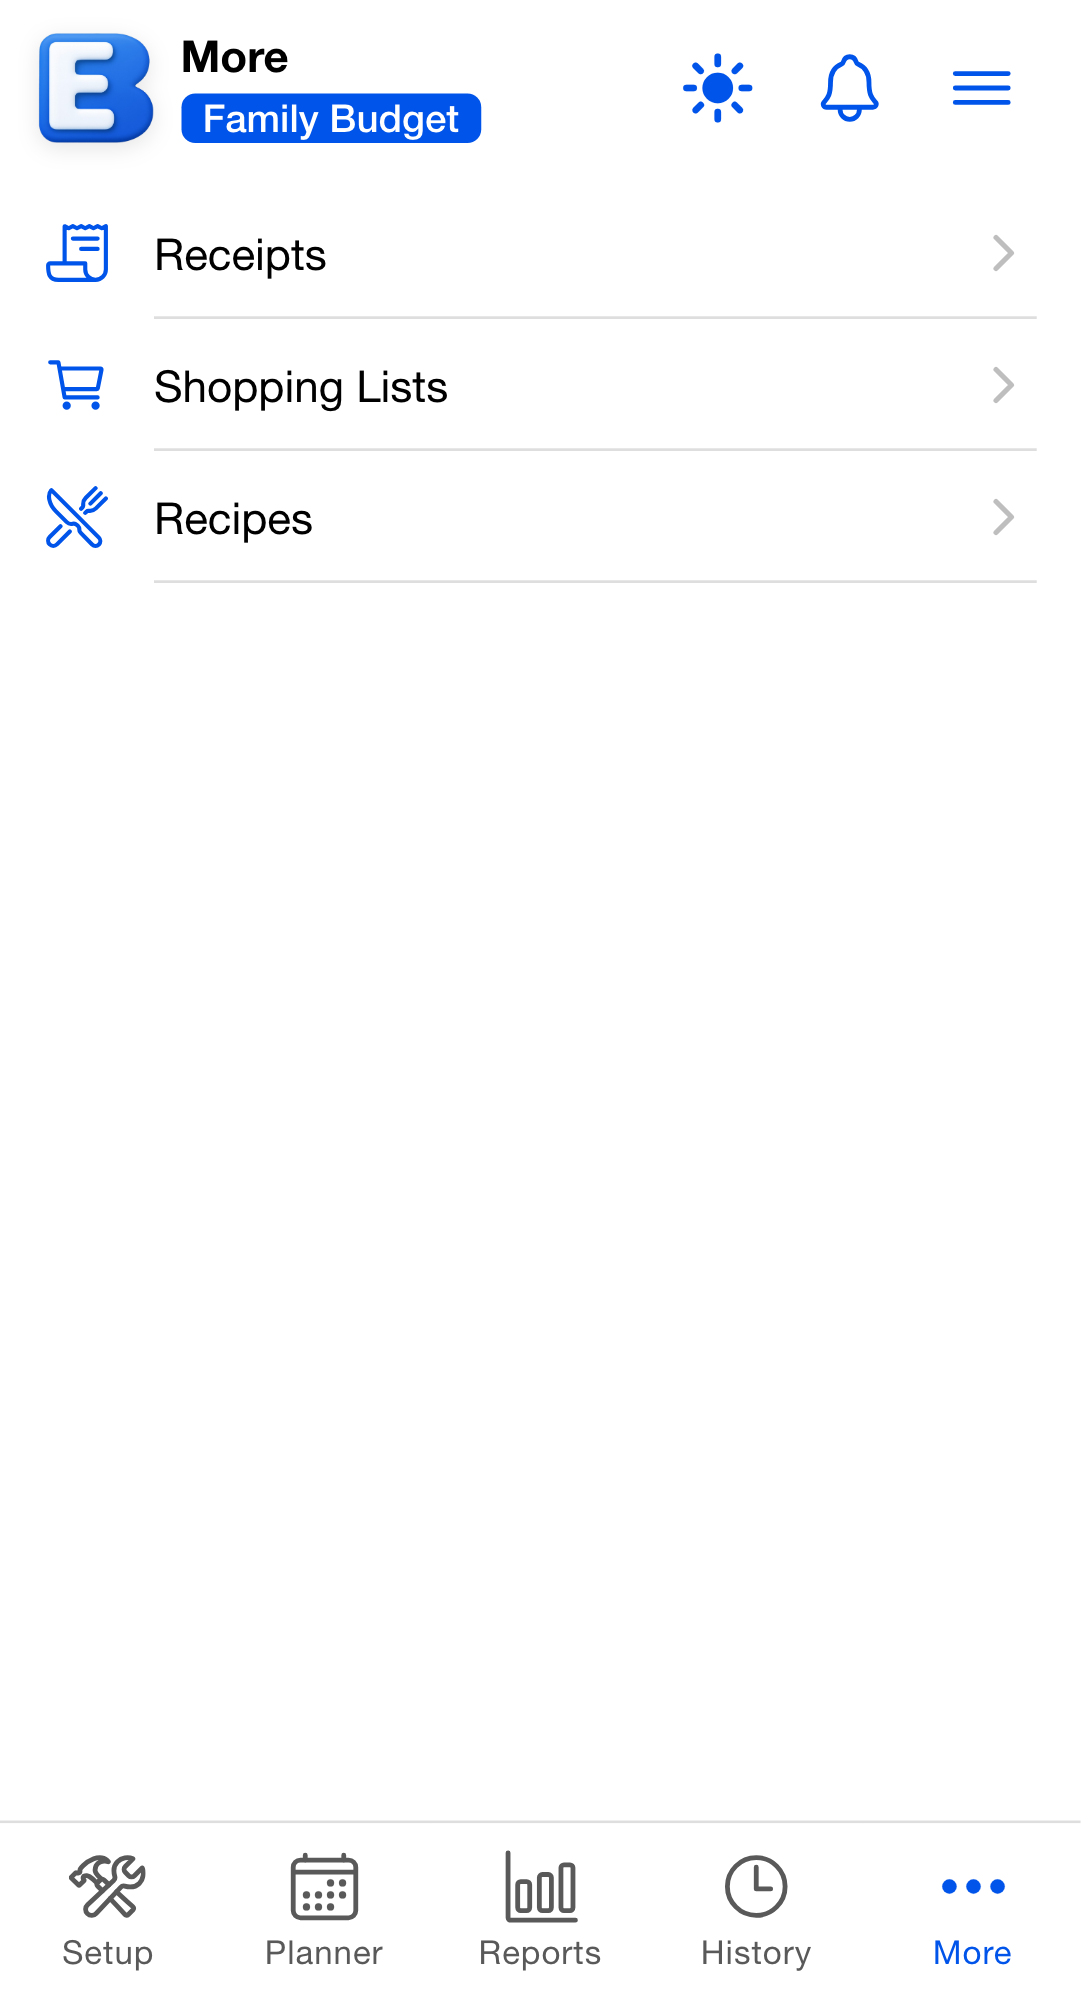
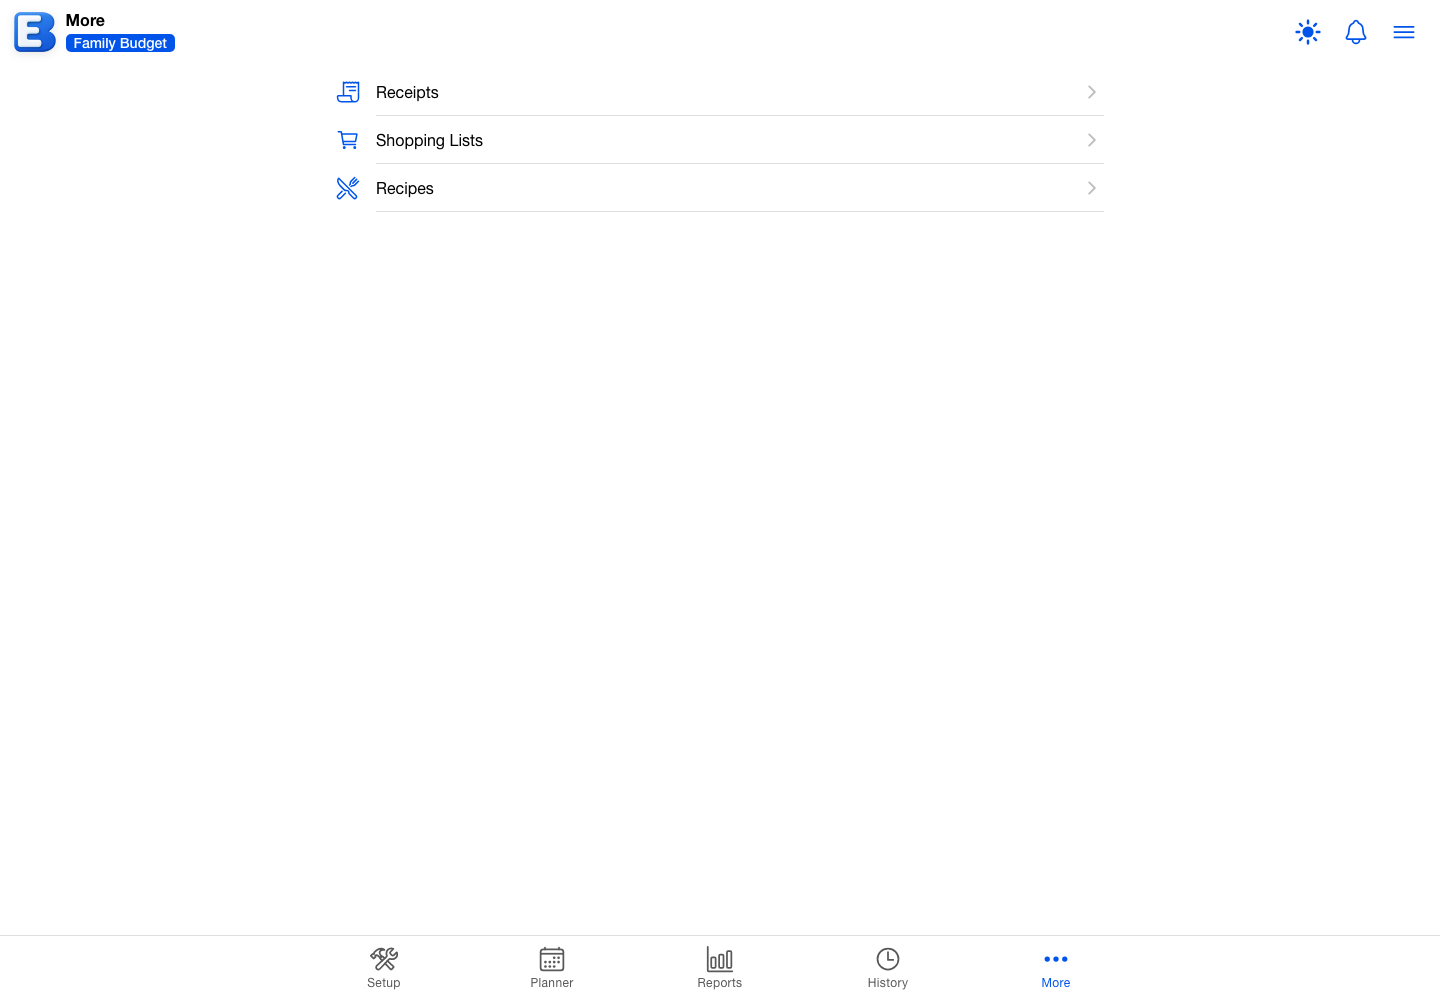
Recipes live on the budget More screen, alongside Receipts and Shopping Lists. Open a budget, tap More in the bottom tabs, then tap Recipes. In a budget created from receipts, the More screen lists History, Shopping Lists, and Recipes, because Receipts has its own tab. Everything on this page is free except adding photos to a recipe and scanning a recipe from a photo or PDF.
Creating a recipe
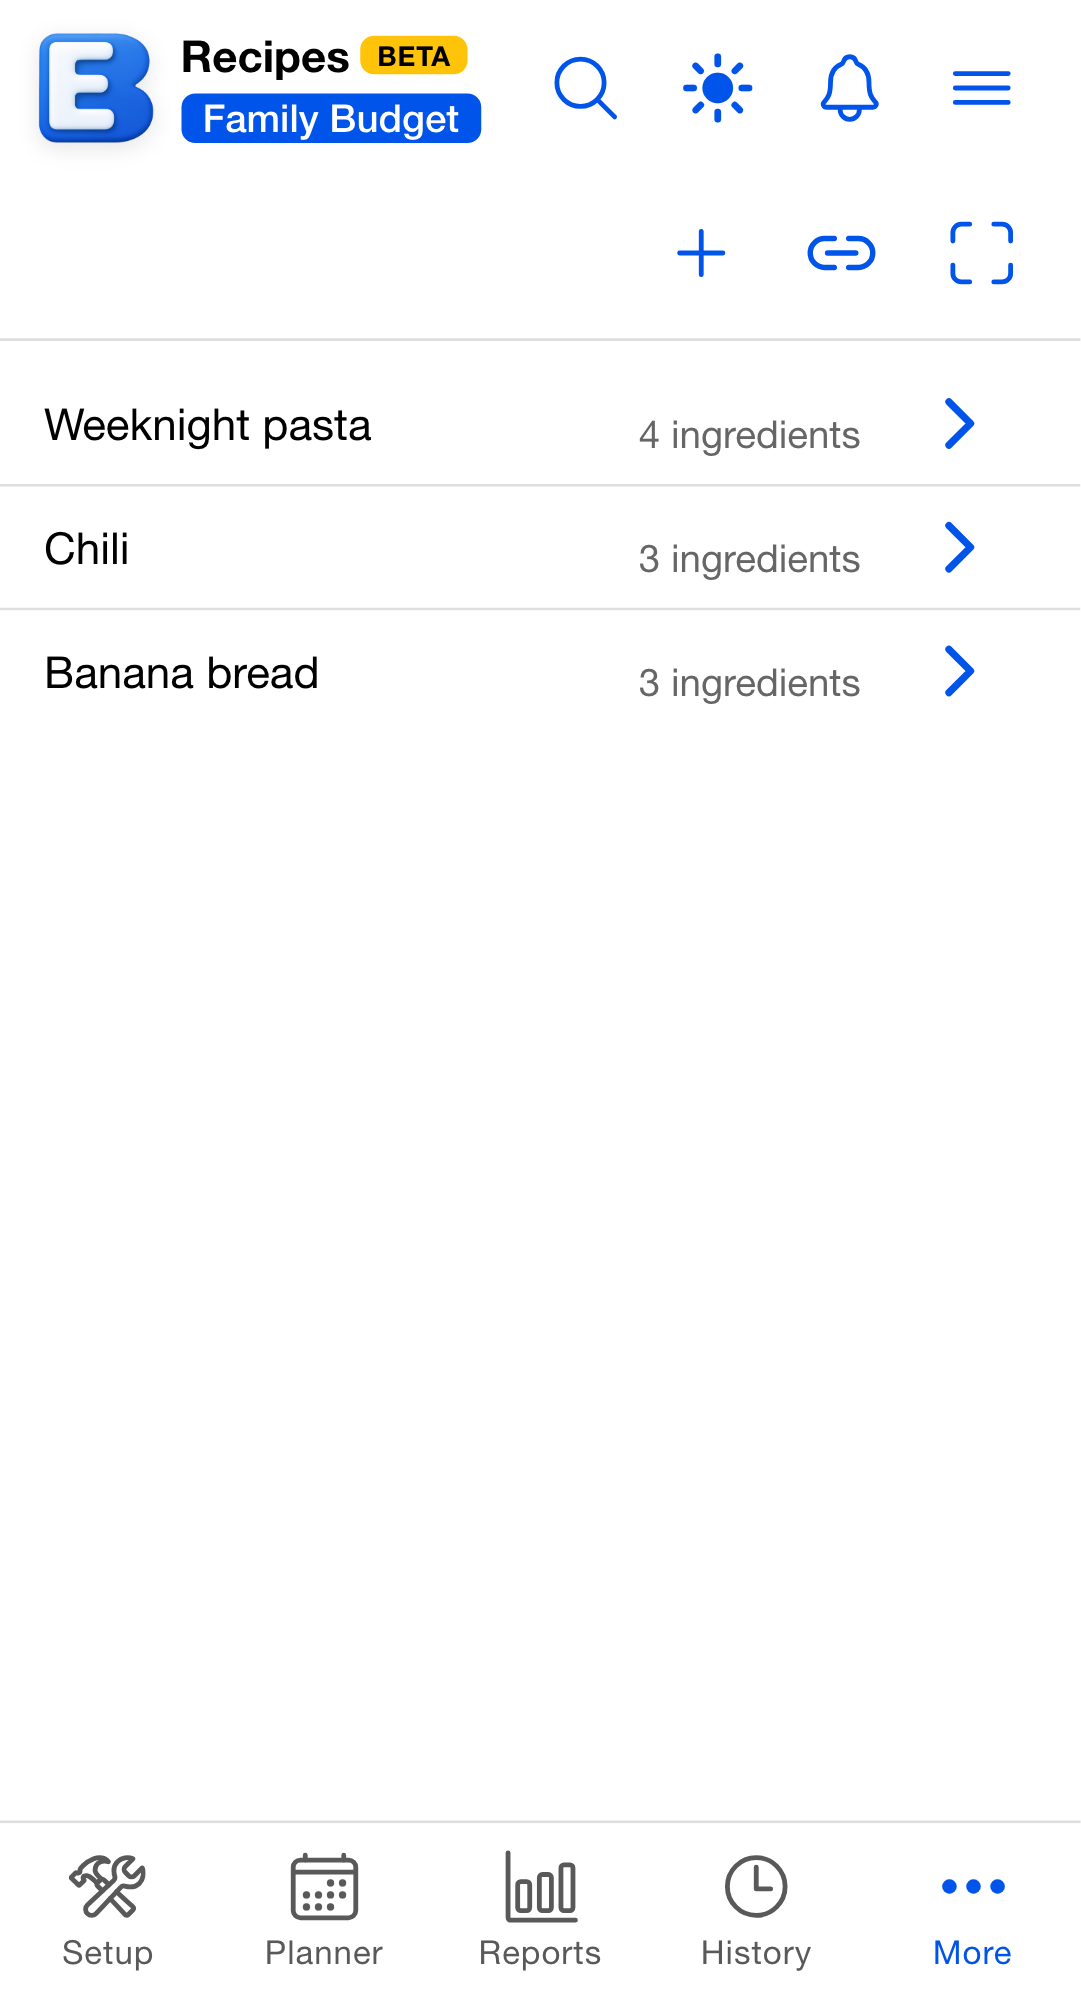
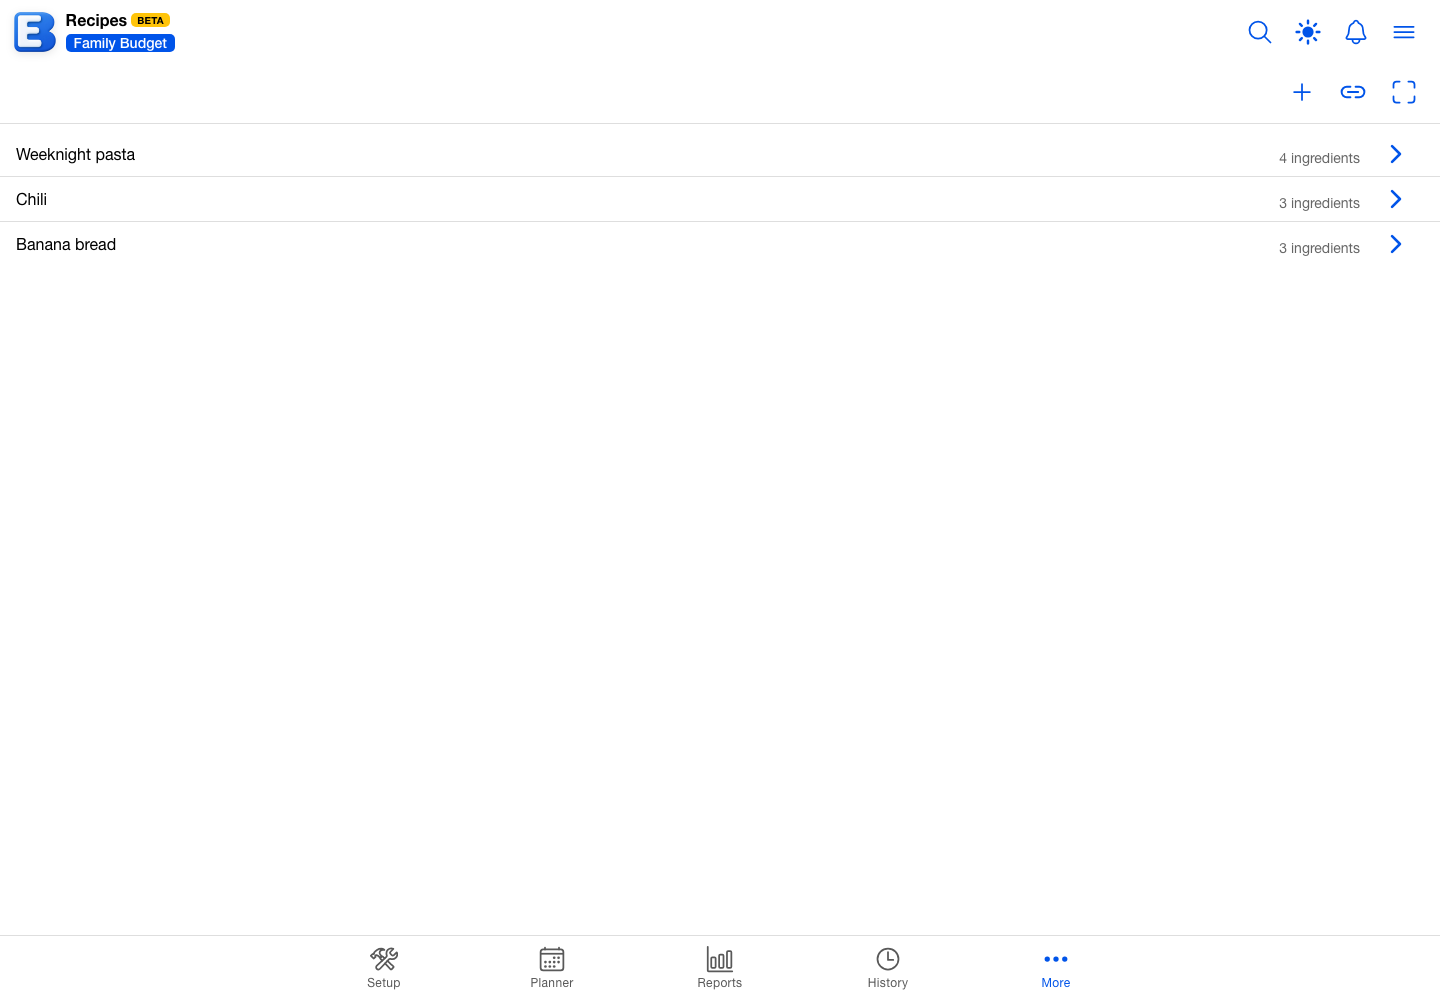
The Recipes screen shows every recipe in this budget, each row carrying its title and how many ingredients it has. Tap the chevron at the end of a row to open that recipe; a tap on the row itself does not open it, so a stray tap never interrupts a swipe.
Three buttons sit at the top right: a + labeled New recipe, a link button labeled Import from a link, and a scan button labeled Scan a recipe. On an empty screen, Create your first recipe does the same as the first of them.
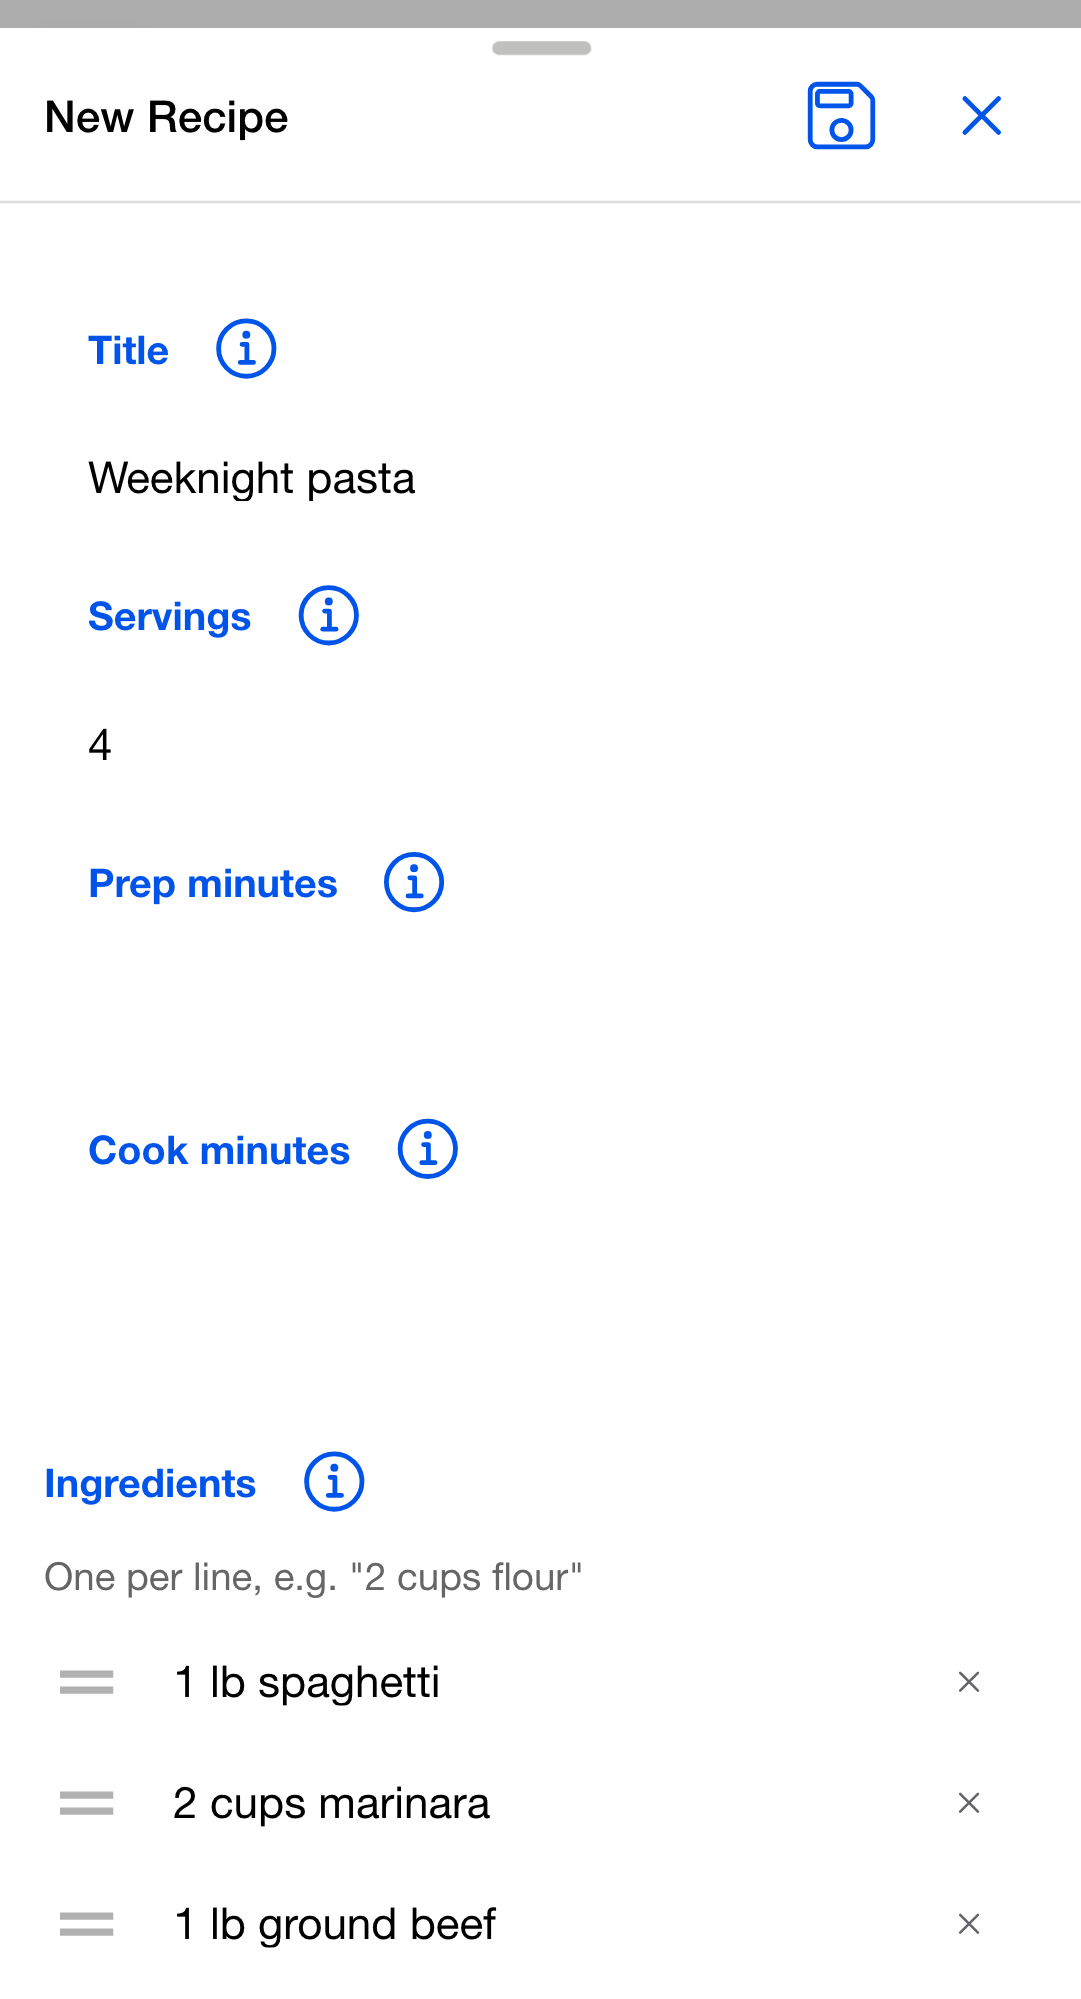
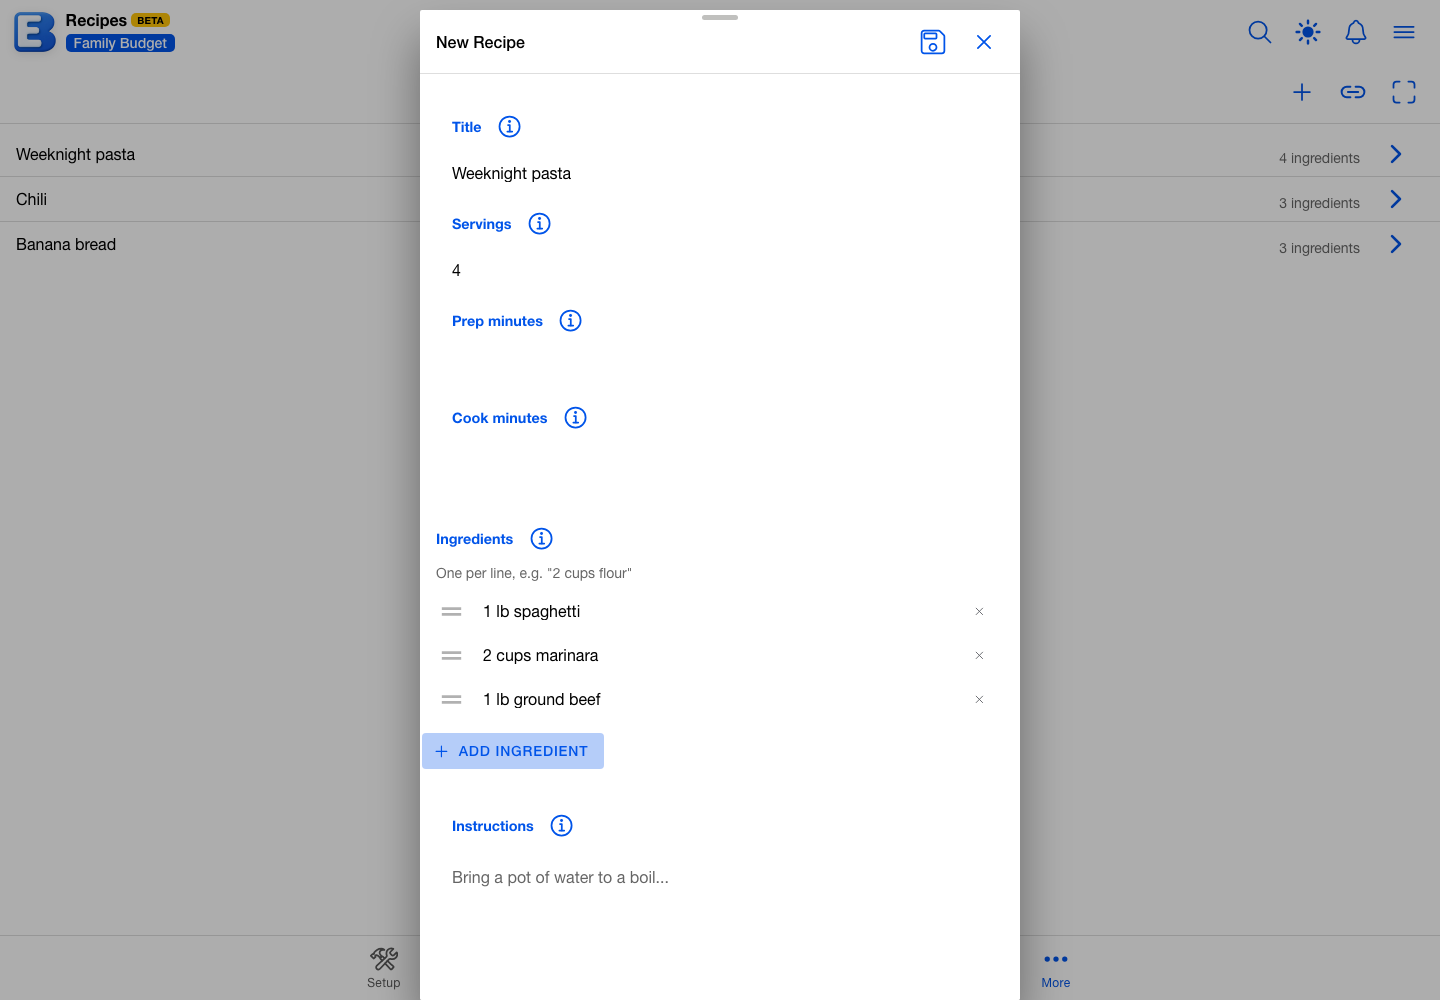
The New Recipe form asks for a Title and, optionally, Servings, Prep minutes, and Cook minutes. Below those is the Ingredients list, one ingredient per line. Tap Add ingredient for another line, the close icon to remove one, or drag the handle at the left to reorder. Add the steps in Instructions, then tap Save. Only the title is required.
Writing ingredient lines
Write each line the way you would say it out loud: “2 cups flour”, “1 1/2 lbs ground beef”, “3 eggs”. The app reads the amount, the unit and the product out of the line, so the recipe can price the portion it uses. Fractions typed either way work, and a range takes the lower number.
Anything the app does not recognize as a unit stays part of the product name, so “1 clove garlic” keeps “clove garlic” and does not invent a measure. A line it cannot break apart at all is kept exactly as you wrote it.
Your original wording is what you see when you open the recipe to edit it, whatever the app made of it.
Editing a recipe
Open a recipe and tap the pencil button at the top, labeled Edit recipe, to change anything: the title, servings, times, the ingredient lines, or the steps. The same form opens with everything filled in, and saving replaces the whole ingredient list with what the form holds. From the Recipes screen, swiping a row left and tapping Edit opens the recipe, where you then tap Edit recipe.
If someone else on the budget changed the recipe while your form was open, saving tells you rather than overwriting their work.
Swiping a recipe row to the left also offers two more actions:
- Archive moves a recipe you are done with out of the way without deleting it. On the Archived tab the same action reads Restore. Once at least one recipe is archived, an Active / Archived toggle appears at the top.
- Delete removes the recipe, immediately and with no confirmation.
Deleting from inside the recipe asks first: the dialog reads Delete "Weeknight pasta"? This cannot be undone. with a Delete recipe button. Either way a deleted recipe is gone for good, so archive a recipe you might want later.
Why archive instead of delete? A recipe you are not cooking this month is still worth keeping, and you can bring it back any time. Archiving tucks it behind the Archived tab so your list stays short, while keeping the recipe intact. Deleting is permanent, so it is for recipes you truly do not want.
How cost to make works
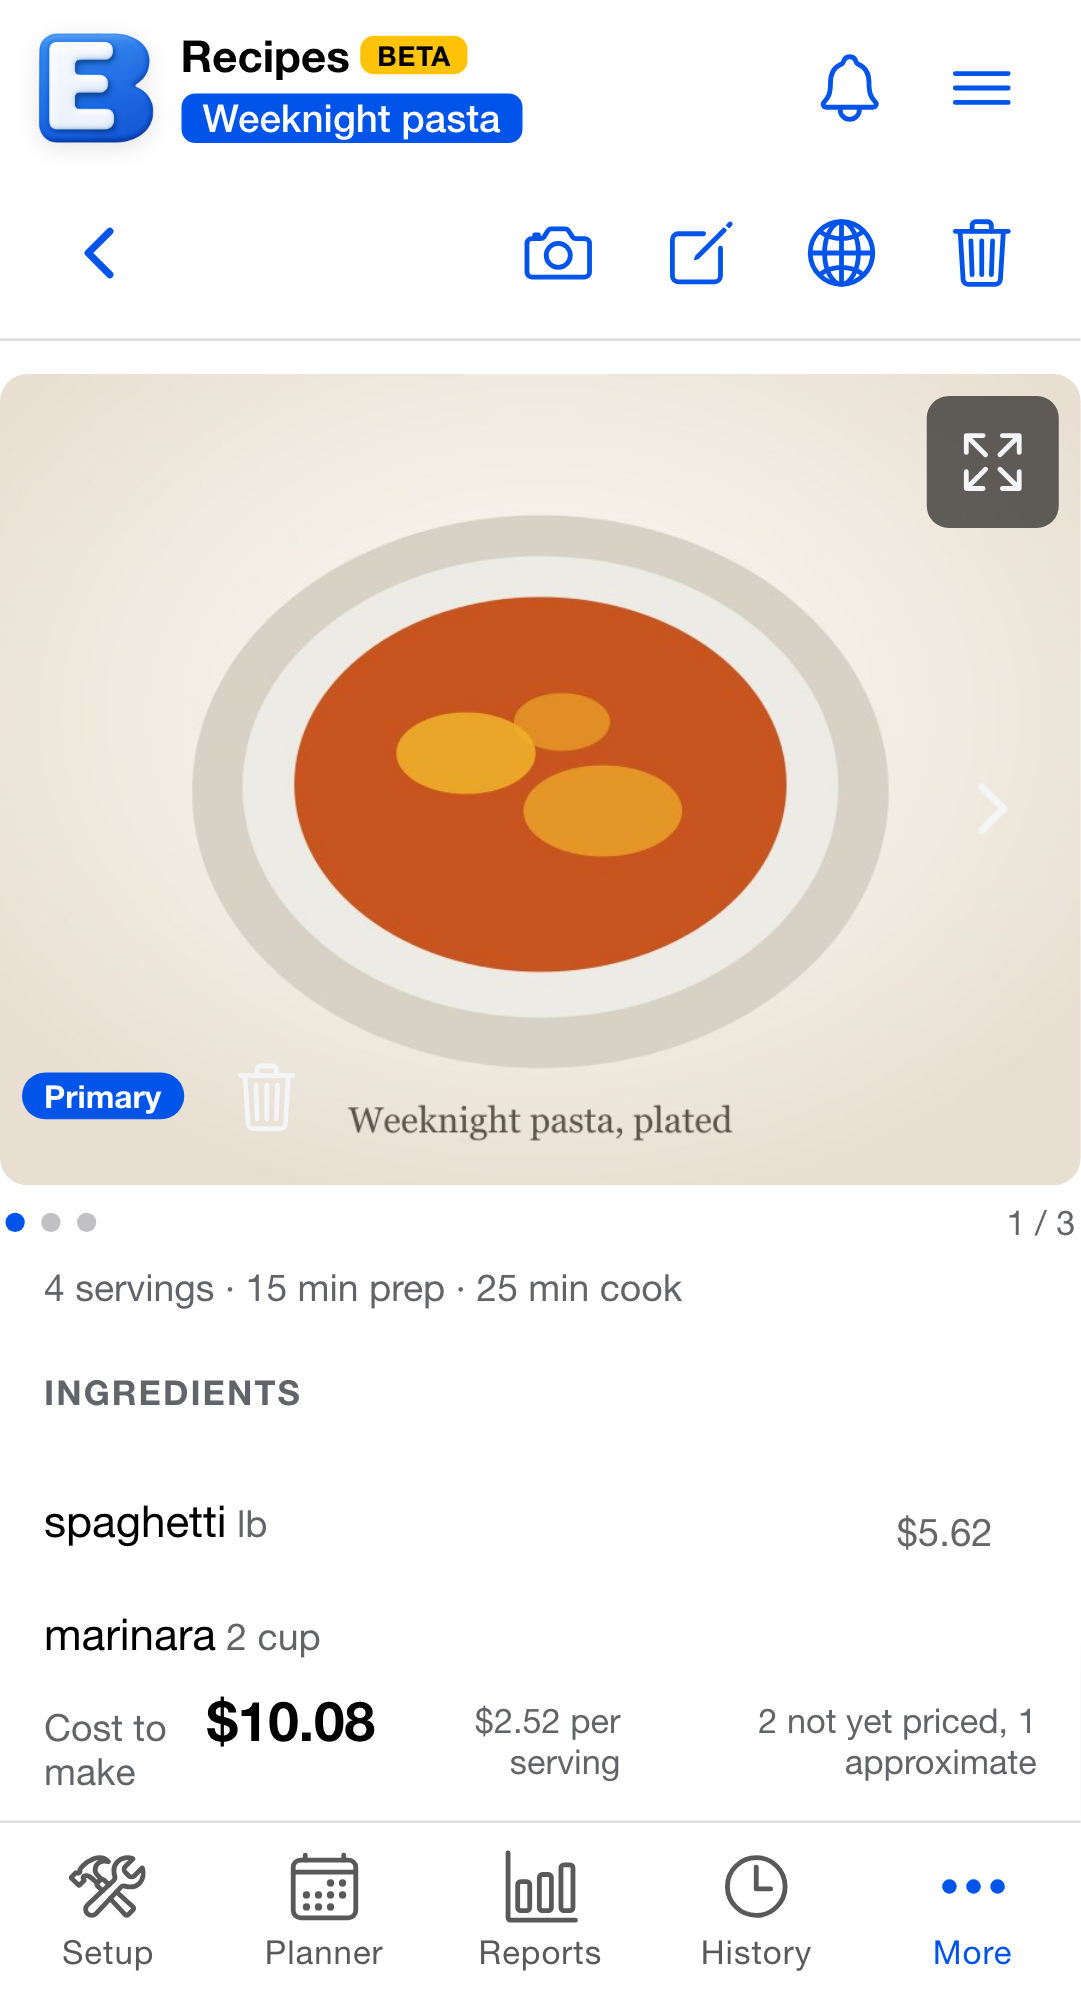
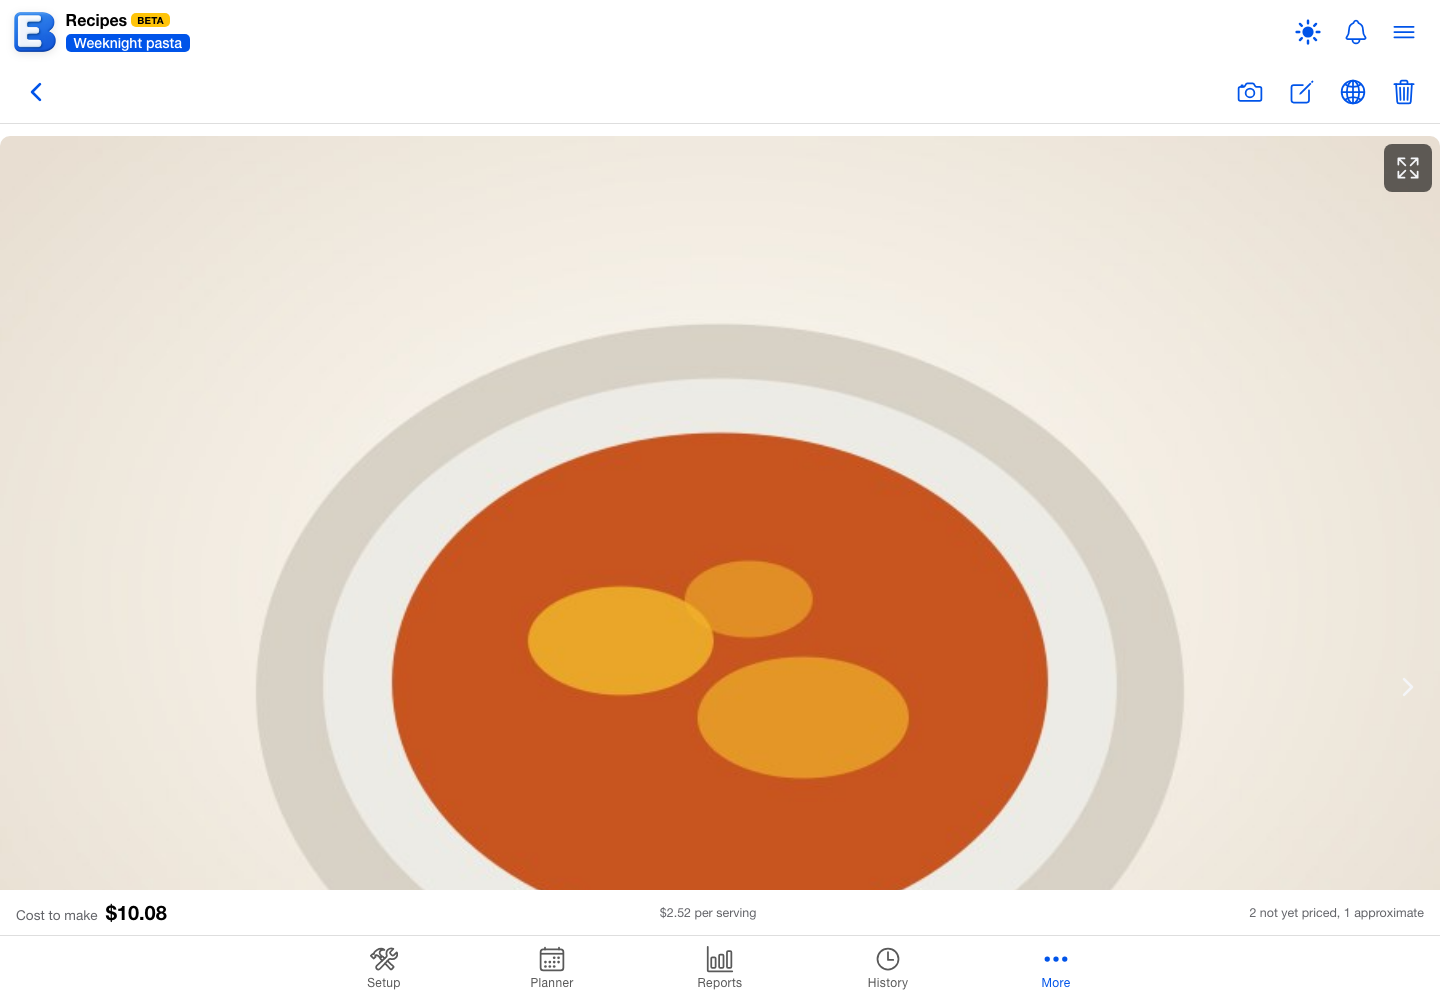
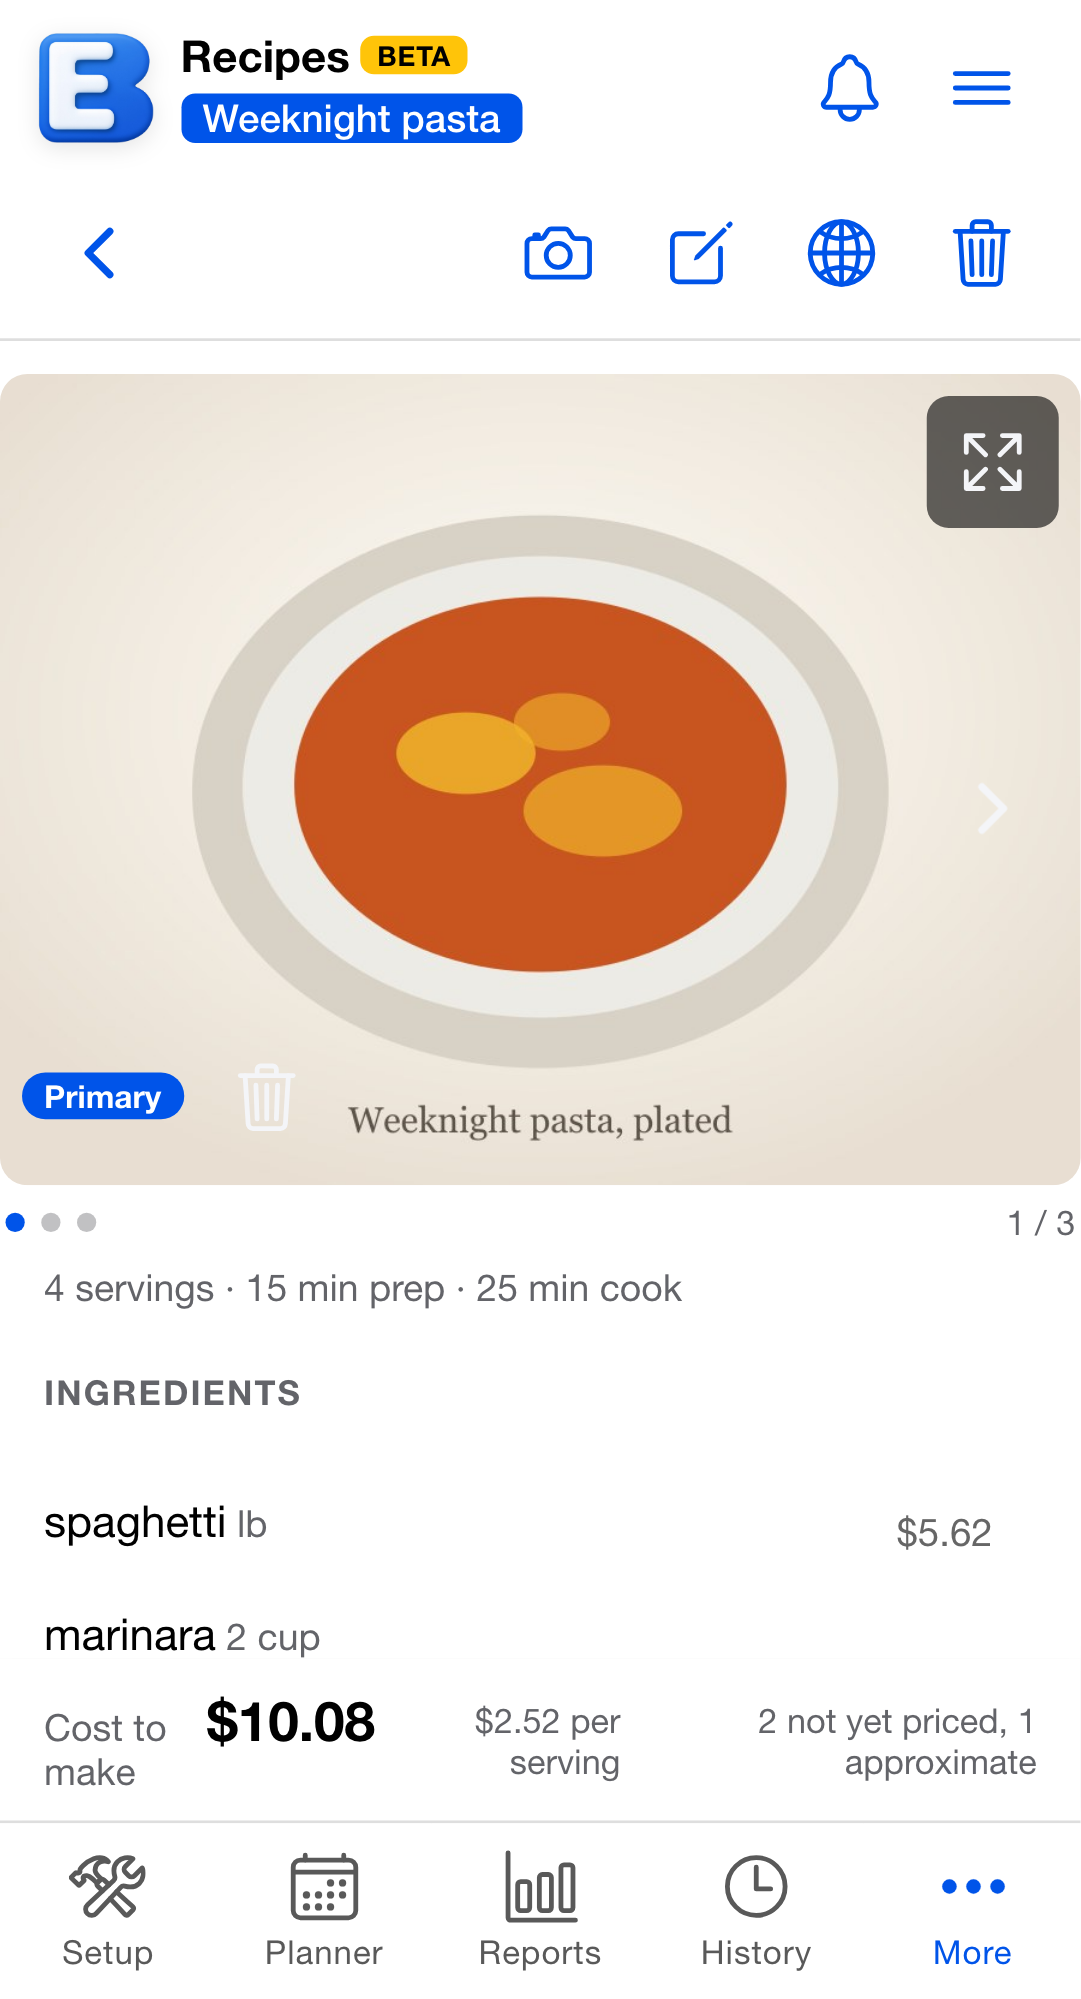
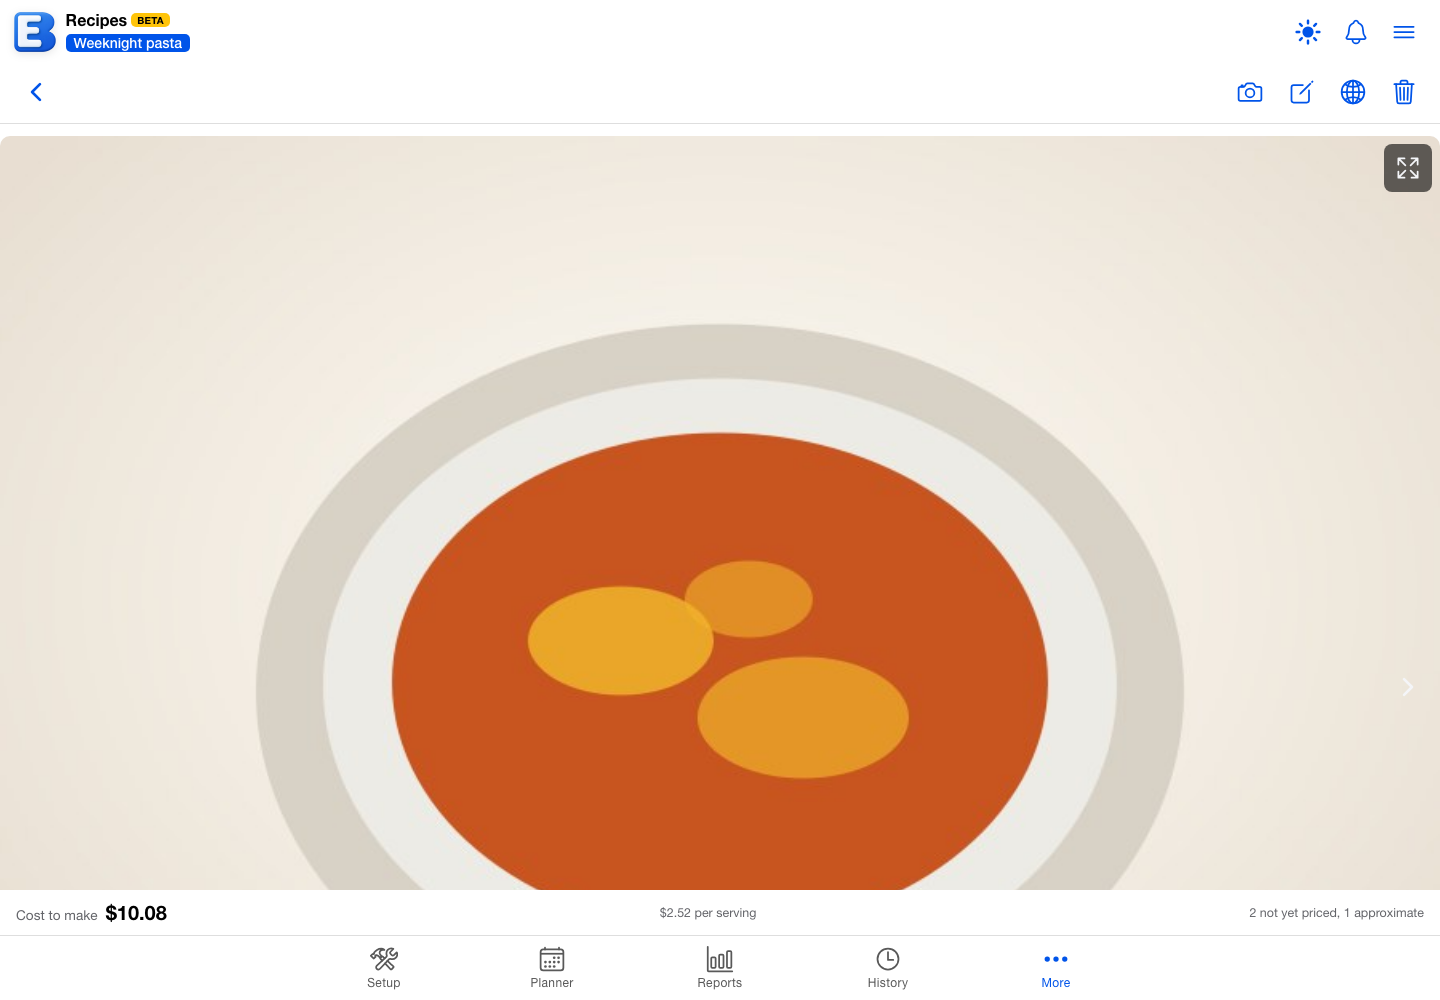
A bar at the bottom of a recipe shows Cost to make: an estimate of what the ingredients cost at your own prices, taken from your receipts. When the recipe has servings, a per-serving figure sits beside it. The screen at the top of this page shows one.
Each ingredient is costed as the portion the recipe actually uses, not as a whole package. The app takes what you pay per unit for that product, converts the recipe’s amount into that unit, and charges the difference. Two cups of milk against a gallon you buy for $4.30 costs $0.54, and half a pound of ground beef against $9.00 a pound costs $4.50.
Each ingredient shows its own estimate at the right, and where that estimate came from:
- A plain price is your own: the typical price you have paid for that product.
- A price labeled est. with an area (nearby, your city, your state, or national) comes from what shoppers near you typically pay. It is used when you have not bought the ingredient yourself yet, and it appears only if you take part in community prices and have saved your area. See Community Prices.
- A price labeled approx. is a close estimate, explained below.
- An ingredient the app cannot price yet shows no price at all.
The cost bar says how complete the figure is, counting the ingredients that are not yet priced and the ones that are approximate. Both counts shrink as you scan more receipts.
The bar appears once at least one ingredient has a firm price. Before that, and on a recipe with no ingredients yet, there is no bar rather than a made-up zero.
Why is cost to make an estimate, not an exact total? Recipes are written in cooking measures (cups, tablespoons) and you buy groceries in package sizes (a bag, a jar, by the pound). The app converts between measures of the same kind, cups to tablespoons or pounds to ounces, exactly. Turning a volume into a weight takes one more thing: what a cup of that ingredient weighs. The app carries that figure for common staples, including flour, sugar, rice, butter, honey, cooking oil, olive oil, milk and ground beef. A cup of flour against a bag you buy by the pound is costed as the 125 grams it is, not as the whole bag. That line still reads approx., because how tightly a cup is packed changes the weight. Any other ingredient measured by volume and bought by weight falls back to what a typical package costs you, labeled approximate as well. The total stays honest about which parts are exact and which are close.
Photos
A recipe holds up to 10 photos: the finished dish, a page from the cookbook you cooked it out of, whatever is worth keeping with it. They sit at the top of the recipe as a gallery you swipe through, and one of them is the Primary photo, the one that represents the recipe.
Adding photos needs Premium. Looking at them does not: everyone on a shared budget sees the gallery, and so does anyone who opens a recipe you published, whether or not they have an account.
To add one, open the recipe and tap the camera button at the top, labeled Add photos.
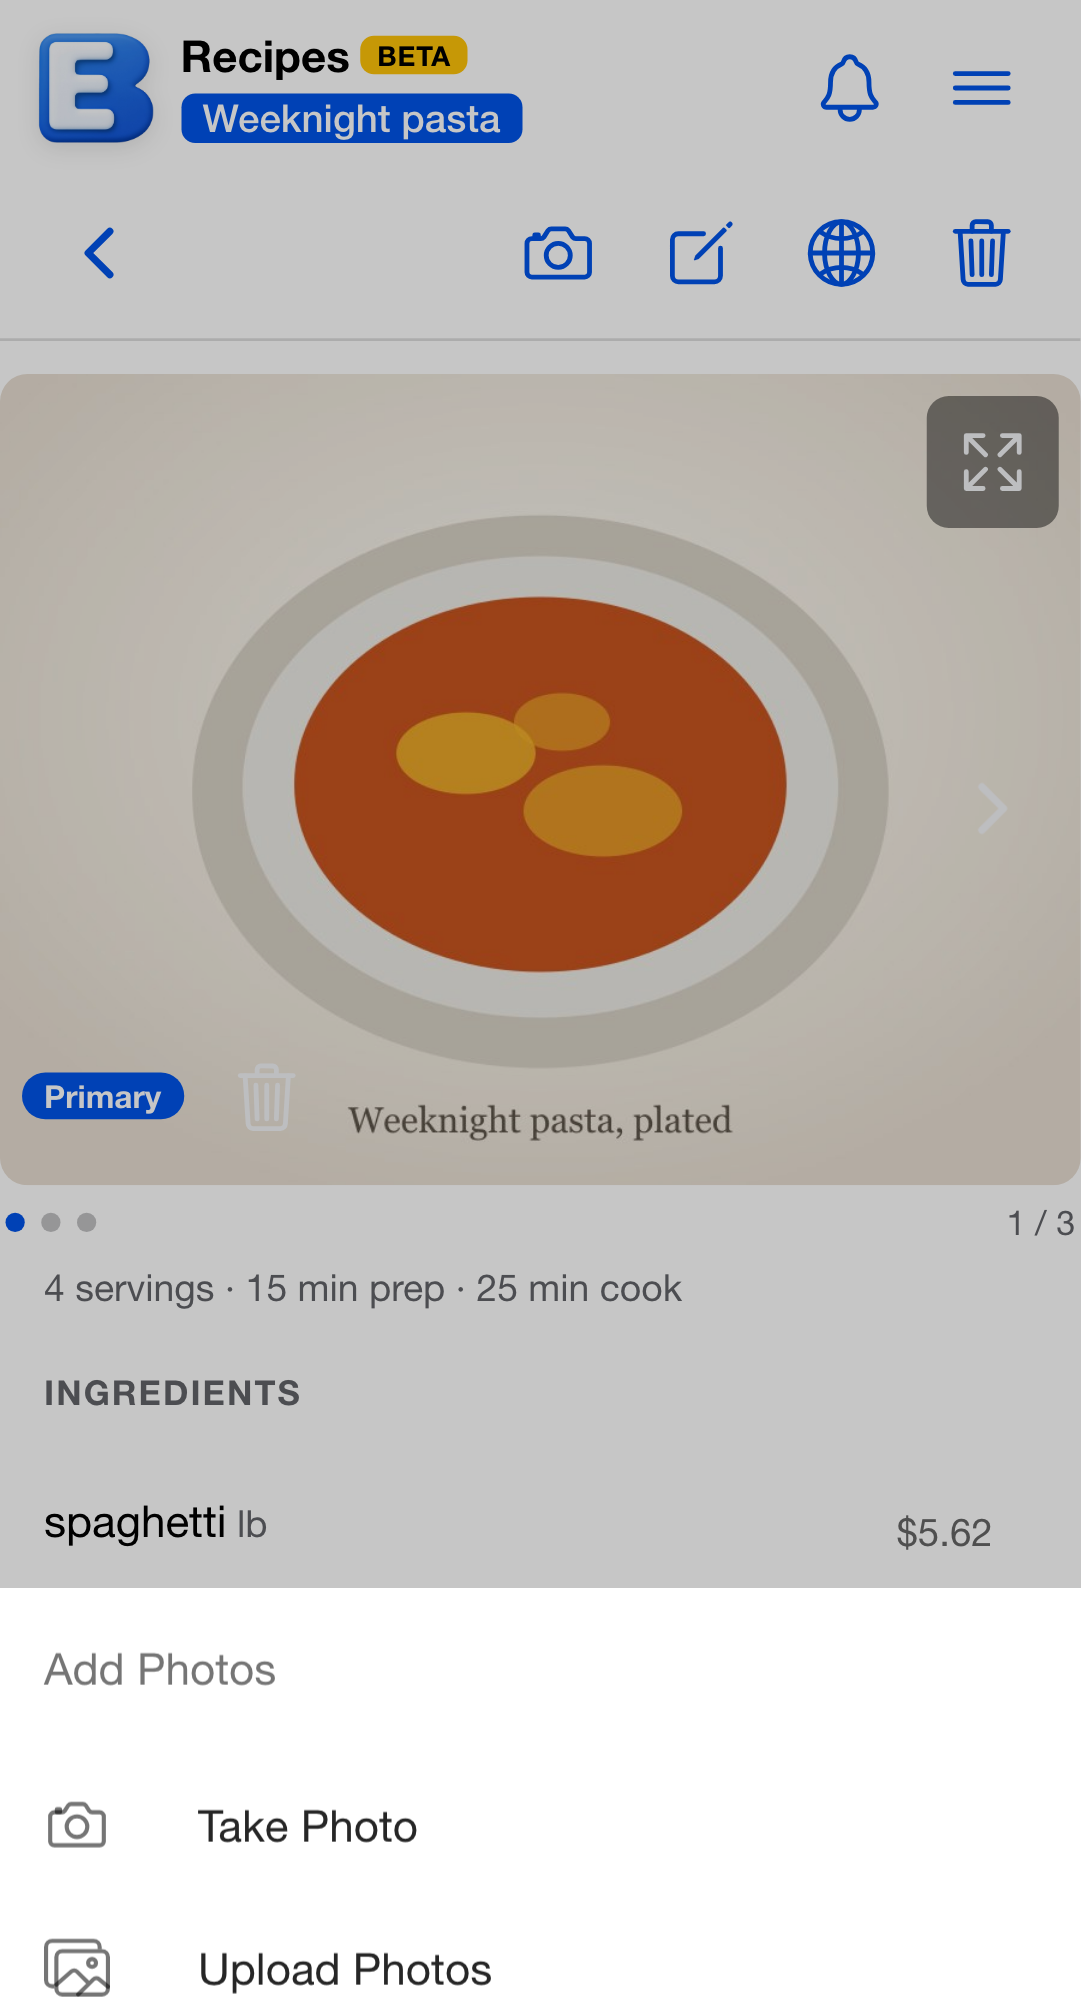
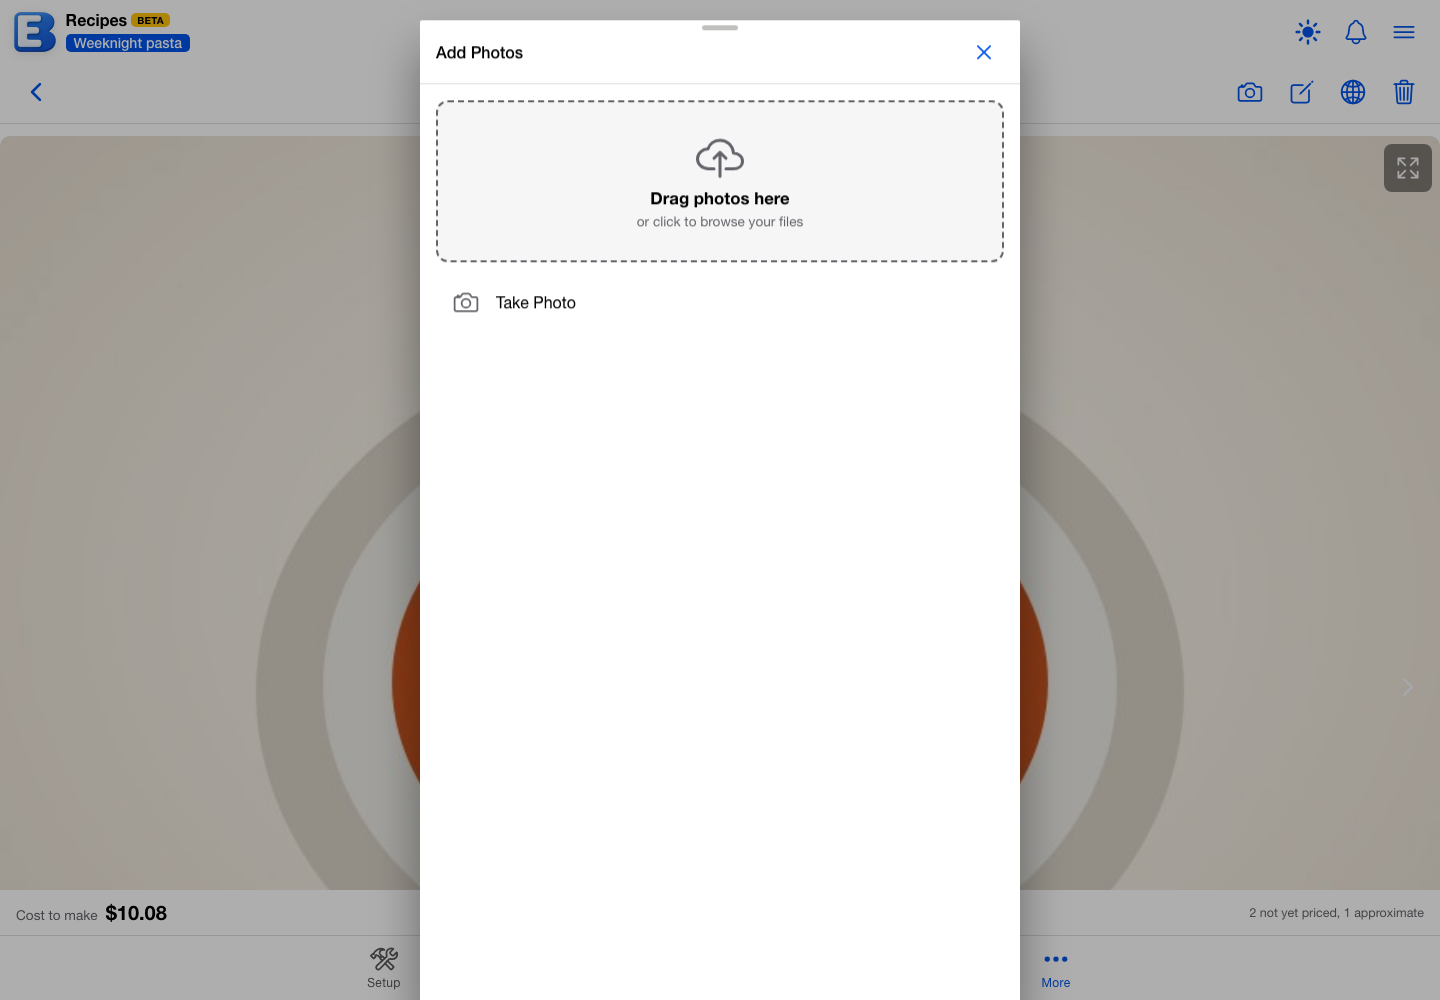
On a phone, the Add Photos drawer offers Upload Photos, plus Take Photo when the device has a camera and Choose from Library in the installed app. On a computer the same button opens a dialog whose main control is an area reading Drag photos here: drop files onto it, or click it to browse. You can pick several photos at once, and they upload in the order you chose them.
The first photo on a recipe becomes the primary one. To change that, swipe to the photo you want and tap the star, labeled Make this the primary photo. To remove one, tap the bin, labeled Delete this photo, then tap Delete Photo to confirm. Deleting a photo is permanent.
A recipe with no photos shows no gallery at all, so a recipe you never photograph looks exactly as it always did.
On the free plan, tapping Add photos offers to upgrade instead. See Subscription for what Premium includes.
When a photo is not accepted
Every photo is checked before it is saved. If the check does not pass, nothing is stored and the app tells you so: We could not use that picture. Please try a different one. The message is the same whatever the reason, and it is a plain notice rather than an error, because choosing a picture the app cannot use is not a mistake worth flagging in red.
Pictures of food are what the check is looking for, including raw ingredients and a dish mid-preparation. A photo of something that is not food, a screenshot, or a picture that would not be appropriate on a page you might publish, is turned down.
If you have added a lot of photos in one day, the app asks you to come back tomorrow. You can add 40 photos a day.
Why does the app check photos at all? A recipe can be published to a public link, and a published recipe carries its photos with it. That makes every photo a potentially public one, so each is checked once, when you add it, rather than at the moment you publish. Checking costs the app money and does not come out of your monthly AI allowance: it is a check the app imposes on you, so charging your allowance for it would be a penalty for adding a picture.
Photos travel when you publish a recipe, and when someone imports a recipe you published, they get their own copies. See Publishing and importing lists and recipes.
Finding a recipe
Once a budget holds more than a handful of recipes, tap the search icon in the header and type. Search matches the title, the steps, and the ingredient names, so typing “chicken” finds both a recipe named for it and any recipe that lists it. The header shows how many matched.
Search covers the active recipes in this budget. Archived recipes are not searched.
Importing a recipe from a link
You do not have to type a recipe out. Tap Import from a link at the top of the Recipes screen, paste the address into the Recipe URL field, and tap Save. The app fetches the page, reads the recipe data published on it, and saves it to this budget. Importing is free and uses no AI.
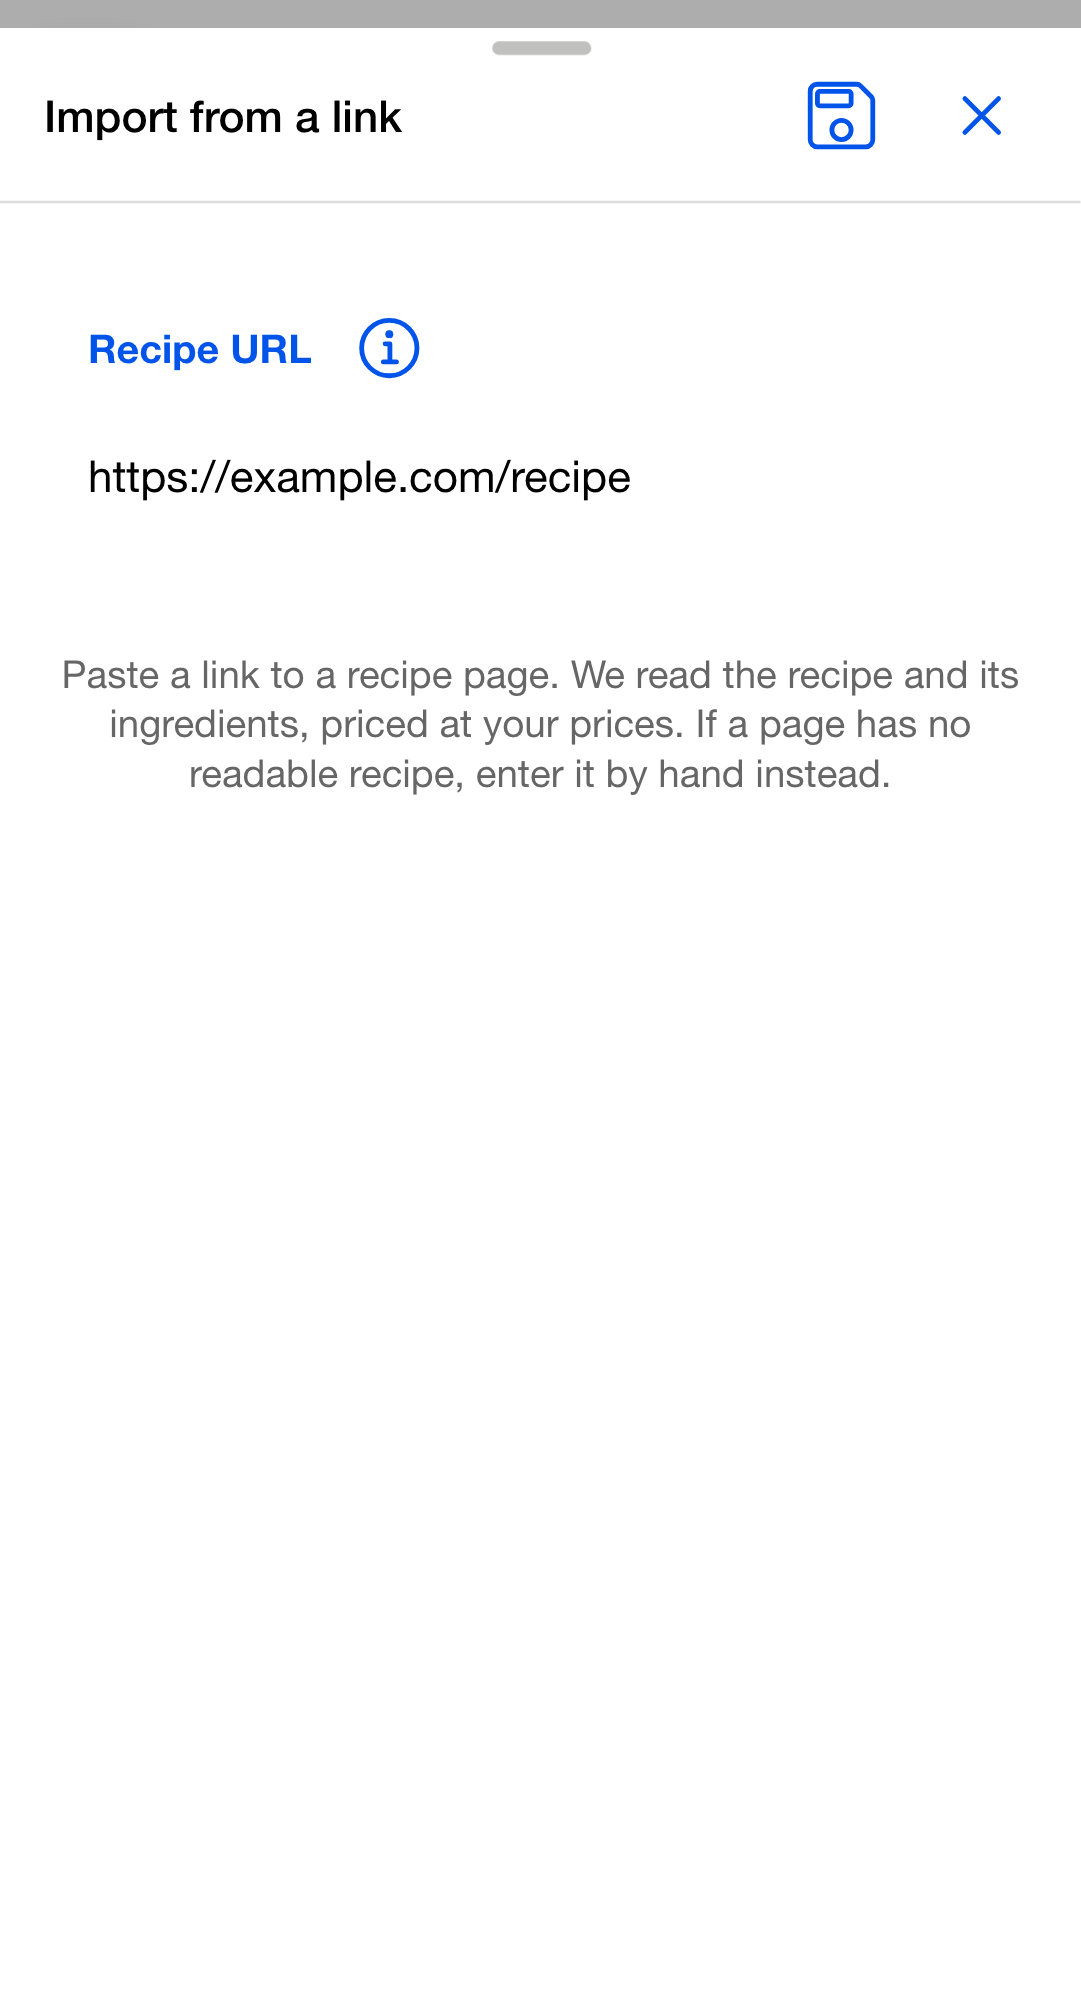
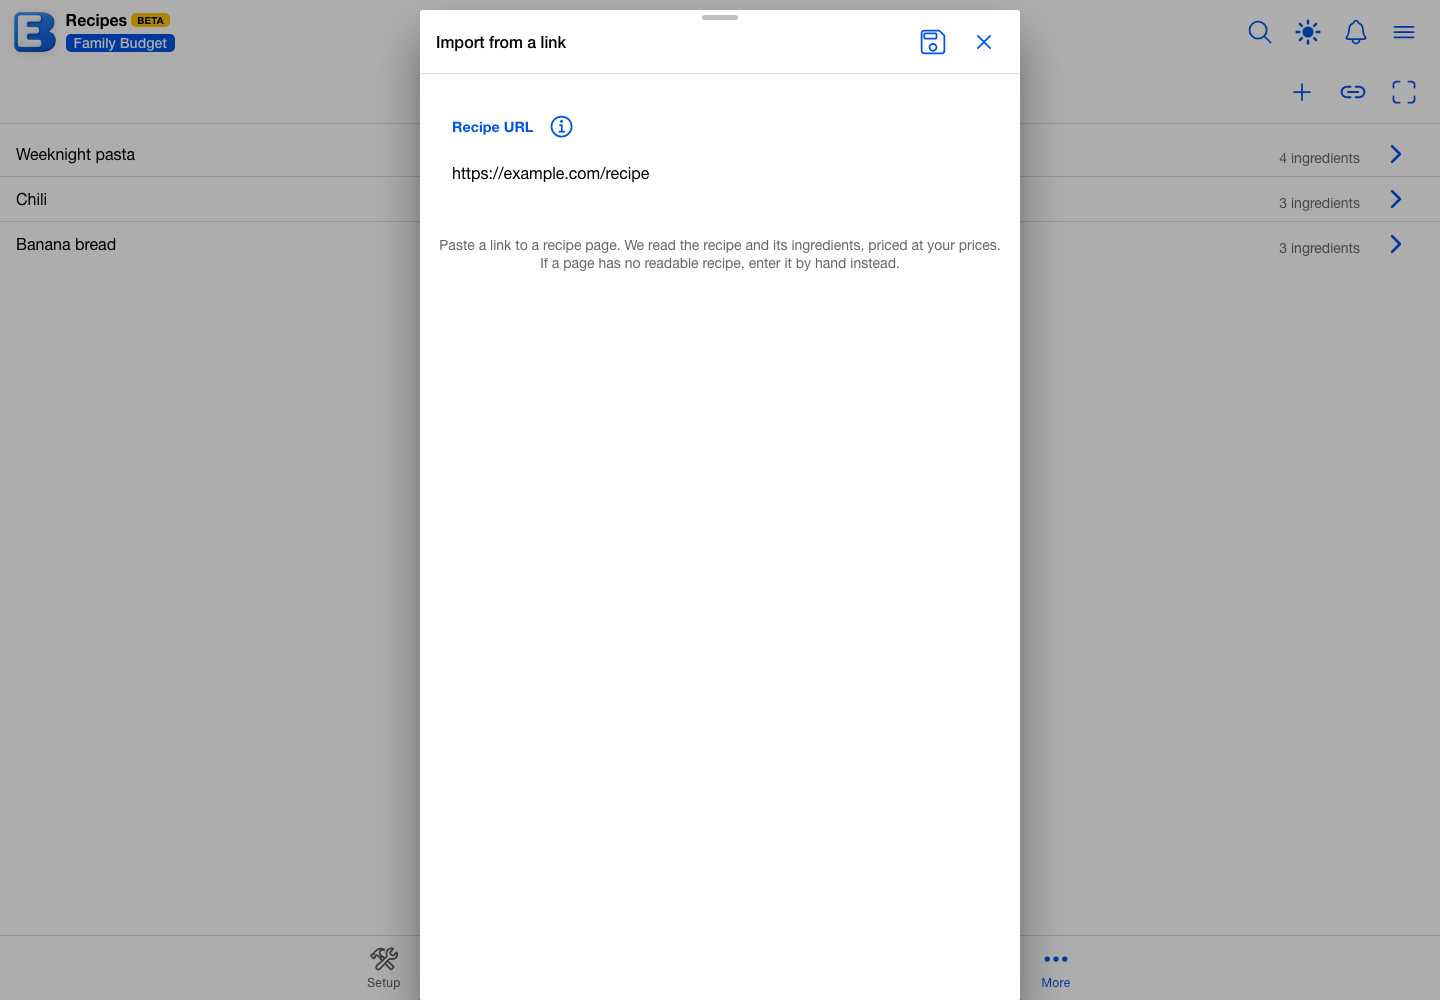
An import brings across the title, the ingredients, the steps, the servings, the prep and cook times, and a note of where it came from. It deliberately leaves the writer’s introduction and the photographs behind, and takes only the functional recipe.
Each ingredient line is read for its amount, unit and product, so “1 1/2 cups flour” arrives as one and a half cups of flour. Fractions typed either way work, as do ranges (which take the lower number). A line the app cannot break apart is kept exactly as written. An import takes up to 200 ingredients.
Importing works when the page publishes its recipe as structured data, which most large recipe sites do. It is not a matter of how clearly a human can read the page: if the page carries no published recipe data, or the data has no title or no ingredients, the import cannot proceed and the app says so, suggesting you enter the recipe by hand or scan it instead. You can import up to 60 recipes a day.
Adding a recipe to a shopping list
A recipe becomes a shopping list in a couple of taps, so a week of meals turns into one grocery run. You do this from the list, not from the recipe: open a shopping list, tap the + button (Add from recipe or receipt), and pick one or more recipes on the Recipes tab. Ingredients are added at the amounts the recipe calls for, and anything the app recognizes as the same product merges into one line with the amounts added up, so three recipes that each call for eggs become a single egg line. The full flow is on Shopping Lists.
Ingredient lines the app does not recognize as a known product come across as their own rows and stay unpriced on the list, the same as they were in the recipe.
Scanning a recipe
When a recipe is only on paper, in a cookbook, or in a photo with no readable text behind it, you can scan it in. Tap Scan a recipe at the top of the Recipes screen, then choose Take Photo, Choose from Library, or Upload File or PDF. The app reads the title, ingredients and steps, saves it as a new recipe, and opens it so you can check it over. Like an import, a scan reads the amount and unit out of each ingredient line.
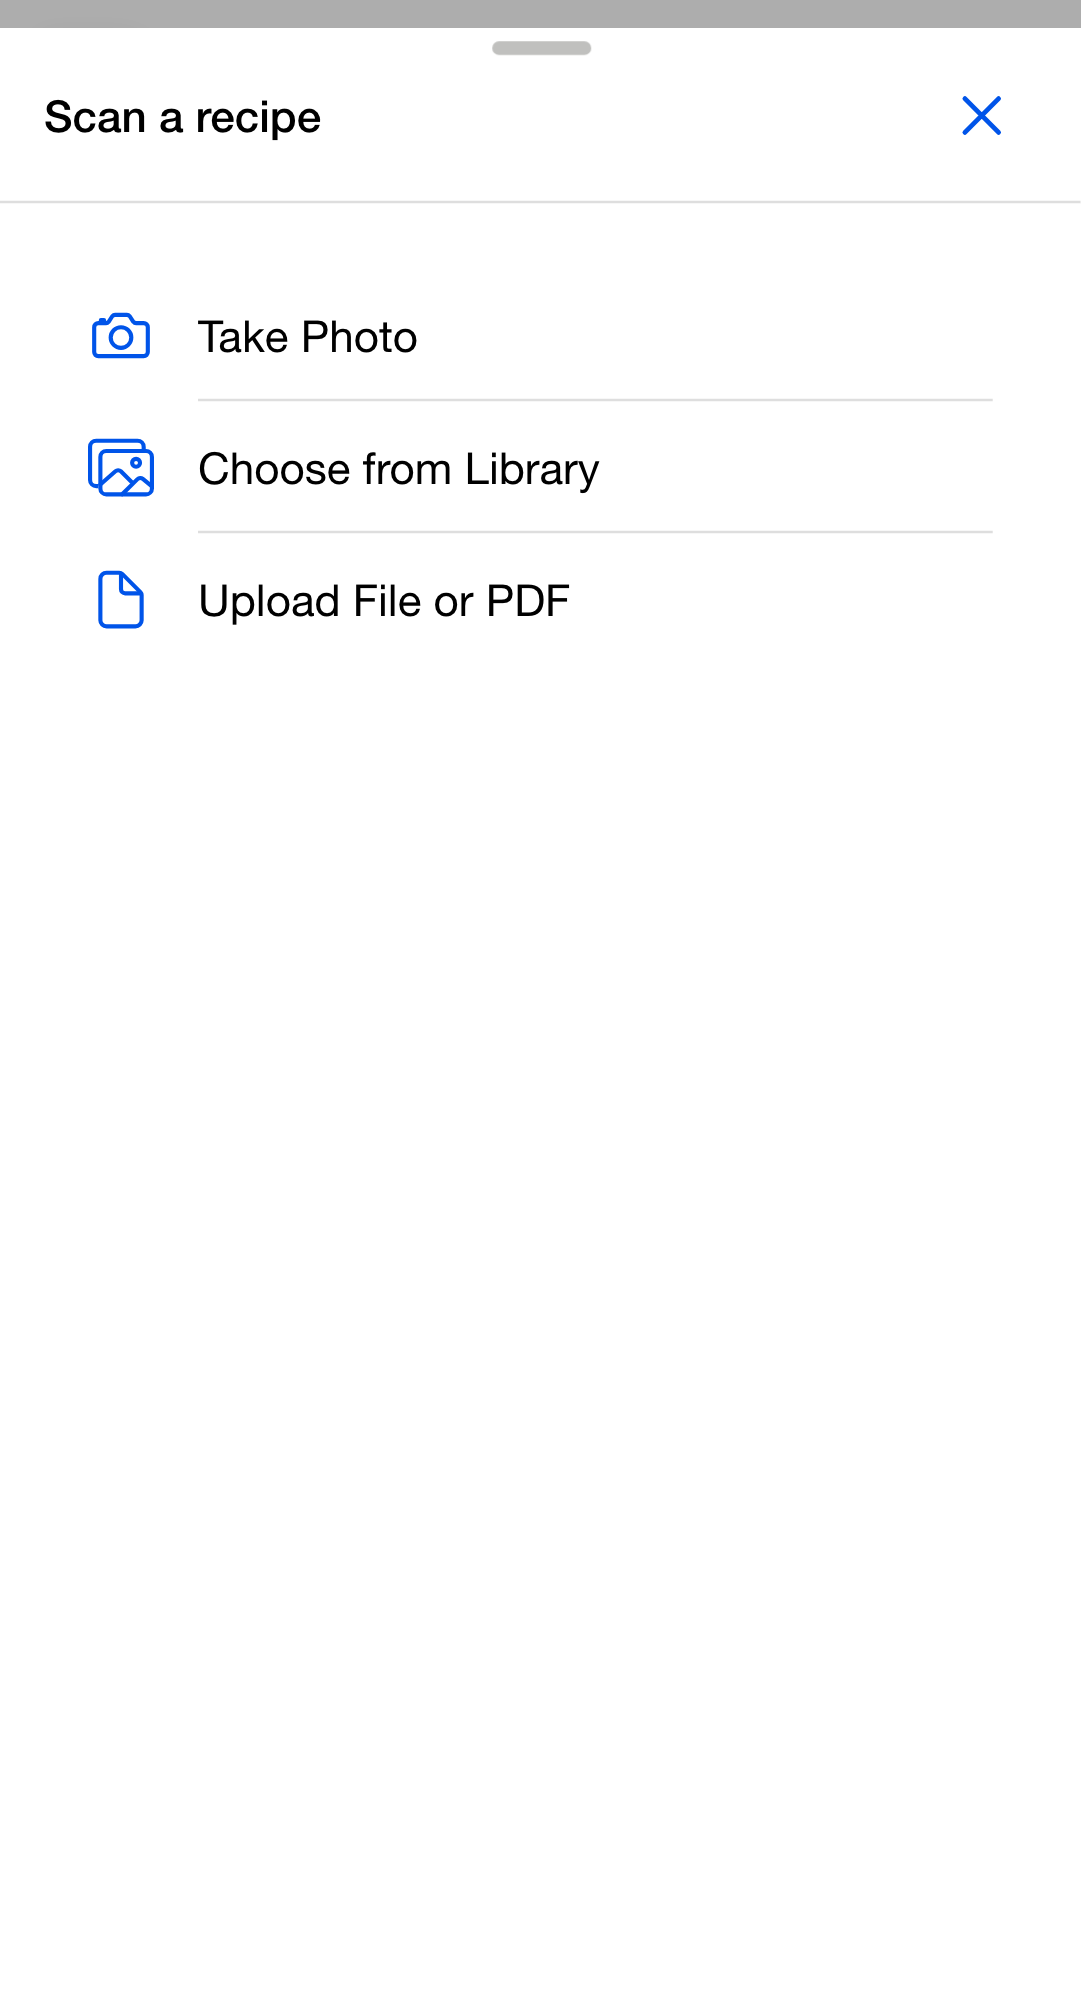
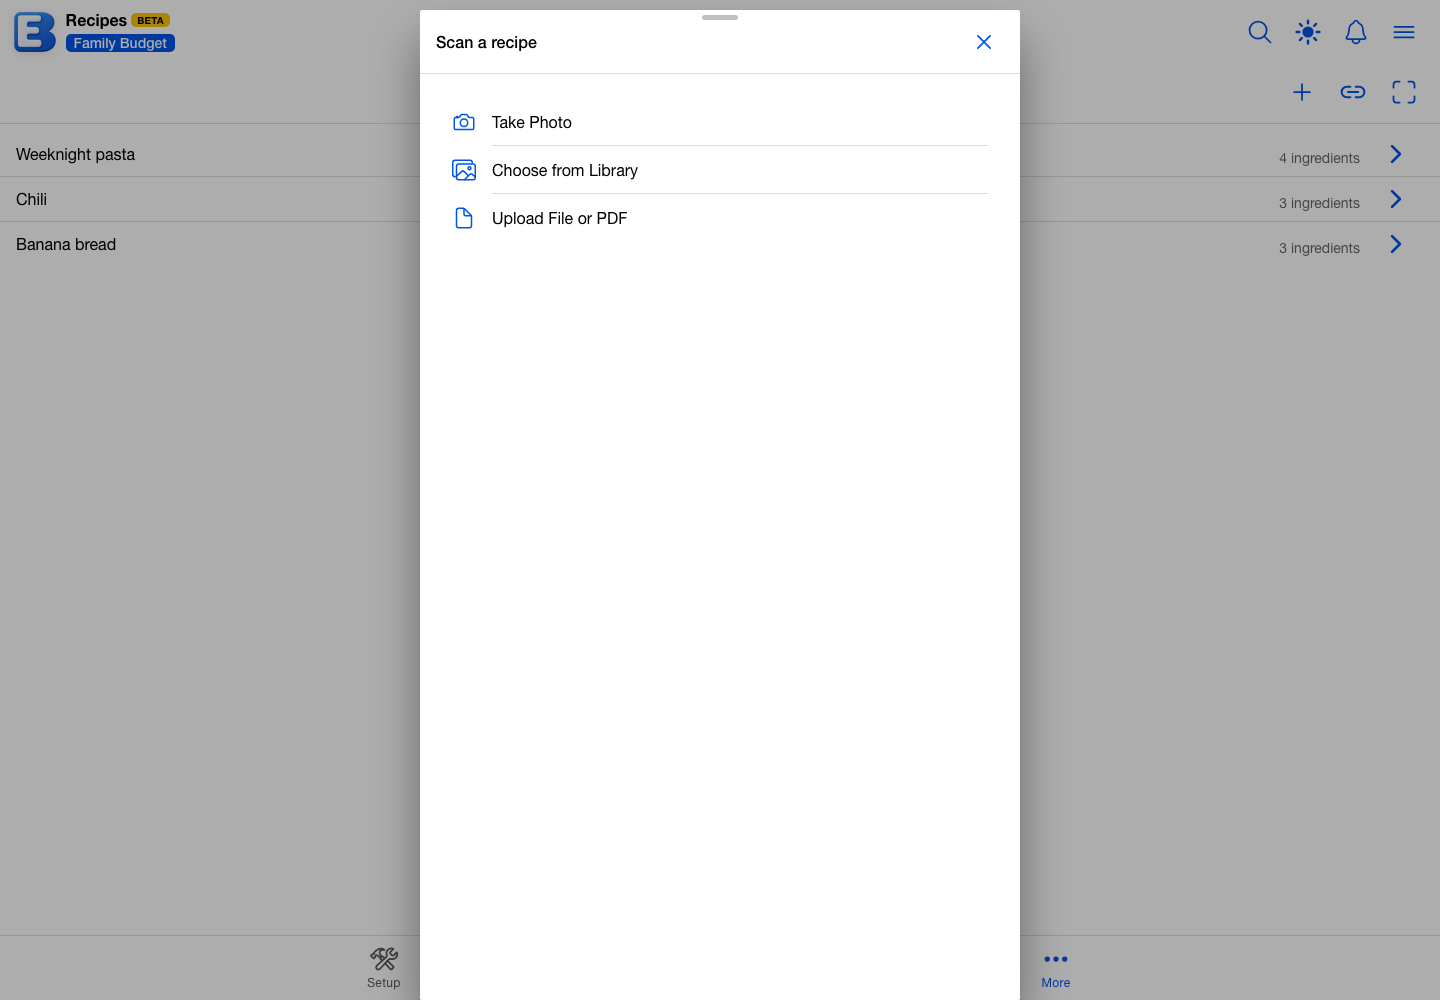
Scanning needs Premium, because reading an image is the one step here that uses AI. On the free plan, tapping Scan a recipe offers to upgrade instead. See Subscription for what Premium includes.
A scan draws on the same monthly AI allowance that receipt scanning and the other AI tools share, so there is no separate recipe budget to keep track of. Separately, you can run up to 100 scans a day.
Why is scanning the one paid part of recipes? Writing a recipe out, importing one from a link, pricing it, searching it and turning it into a list all run on your own data and cost nothing to do. Reading a photo or a PDF is the one step that costs money to run, so it is the one step Premium covers. On a shared budget, a recipe a Premium member scanned is there for everyone on the budget to use.
If the app cannot make out a recipe in the image, it tells you so and saves nothing rather than storing a blank recipe. Try a clearer photo, or enter the recipe by hand. It also tells you when you have hit the daily limit or used up the monthly AI allowance.
Sharing recipes with your household
A recipe belongs to its budget, so it is shared the way the budget is. Keep the budget to yourself and your recipes are yours. Share the budget with your household (Sharing) and everyone with access sees the same recipes, priced from the budget’s receipts, so cost to make reads the same for everyone on it. The one part that can differ between people is a community estimate, which is based on the area each person has saved.
Reading recipes needs view access to the budget. Creating, editing, importing, scanning, and deleting all need edit access.
You can also publish a recipe to a public link so anyone can open it and add it to their own budget, without sharing your prices. The globe button at the top of a recipe, labeled Publish recipe, starts it. Publishing, and importing a recipe someone shared, are covered on Publishing and importing lists and recipes.
Quick reference
| If you want to | Do this |
|---|---|
| Open recipes | Open the budget, tap More, tap Recipes. |
| Open one recipe | Tap the chevron at the end of its row. |
| Create a recipe | Tap the + button (New recipe), fill in the title and ingredients, tap Save. |
| Edit a recipe | Open it and tap the pencil button (Edit recipe). |
| Archive or delete a recipe | Swipe the recipe row left, tap Archive or Delete. |
| Bring an archived recipe back | Switch to the Archived tab, swipe the recipe, tap Restore. |
| Search recipes | Tap the search icon in the header; it matches titles, steps, and ingredients. |
| Import a recipe from the web | Tap Import from a link, paste the address, tap Save. |
| Turn a recipe into a list | On a shopping list, tap the + button (Add from recipe or receipt), choose the recipe. |
| Scan a recipe from a photo or PDF | Tap Scan a recipe, pick a capture source. Needs Premium. |
| Add photos to a recipe | Open it, tap the camera button (Add photos), pick a source. Needs Premium. |
| Choose the photo that represents a recipe | Swipe to it in the gallery, tap the star (Make this the primary photo). |
| Share recipes | Share the budget they live in; see Sharing. |
Related pages
- Shopping Lists: lists you check off as you shop, and adding a recipe’s ingredients to one.
- Receipts: scanning receipts, which is what fills in the prices behind cost to make.
- Publishing and importing lists and recipes: publishing a recipe to a public link and importing one someone shared.
- Sharing a Budget: sharing the budget a recipe lives in, and the view and edit access levels that decide who can change it.
- Subscription: what is free and what Premium adds. Everything here is free except adding photos and scanning a recipe.
Questions or feedback about this page?Email us.